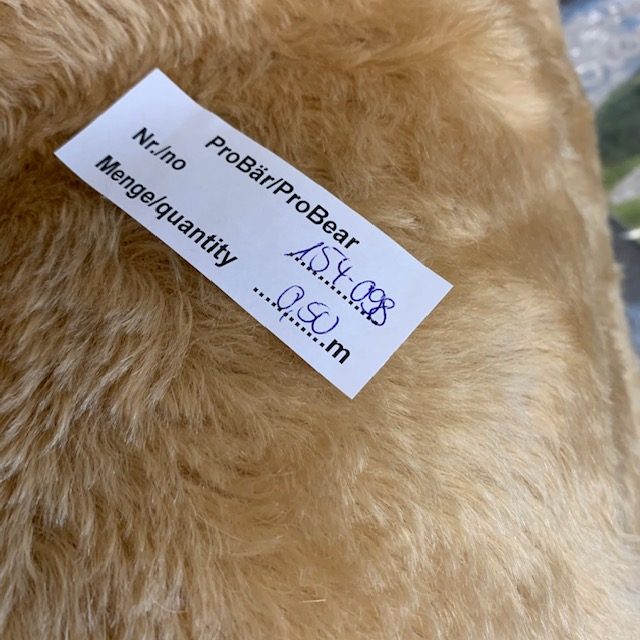
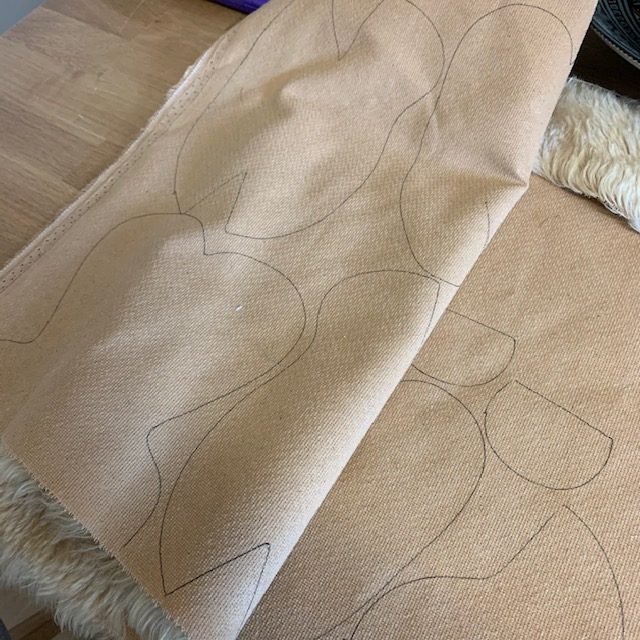
To start any project, you need a plan – or in this case, a pattern. I work from my own patterns and many of them date back more than 40 years. Each pattern is unique to Bedford Bears and designed in-house, drawing on extensive research using my 300-strong bear collection. My patterns are truly the result of lots of ‘inter-bear mingling ‘ so the creation that’s about to emerge before your very eyes is a true pedigree!
This bear was made for a lady whose friend had recently had a baby, so we discussed styles, material options such as the type of mohair, colour and finish, accessories, eye colour and bespoke embroidery elements, and whether or not a growler was required.
As soon as we have a plan the mohair gets ordered from my supplier in Germany, and I keep a record for future orders, should an additional bear/or repair ever be required.
When the material arrives I mark out the pattern on the back and, as with any pattern on material, I aim to be as economical as possible. But it’s important to be aware which way the grain of the mohair or fur lies.
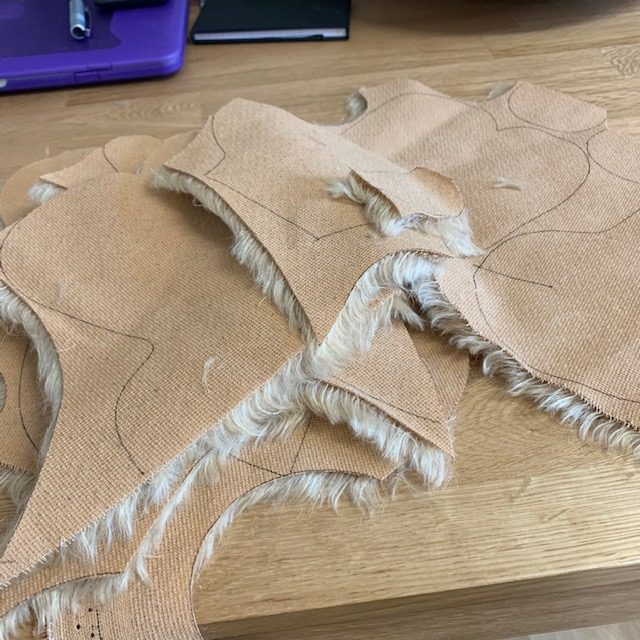
The end result is a pile of puzzle pieces all ready to be sewn together. I start with the head pieces and try to make sure that the muzzle section is sewn symmetrically – but won’t know if it is until I turn it the right way put. In this case, it’s straight! Before the head is stuffed, I hand sew the nose and mouth using embroidery thread.
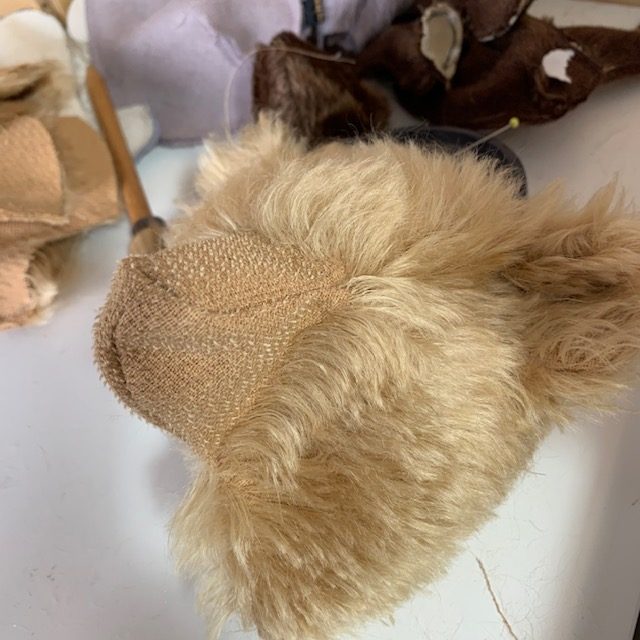
7. Ready for his nose
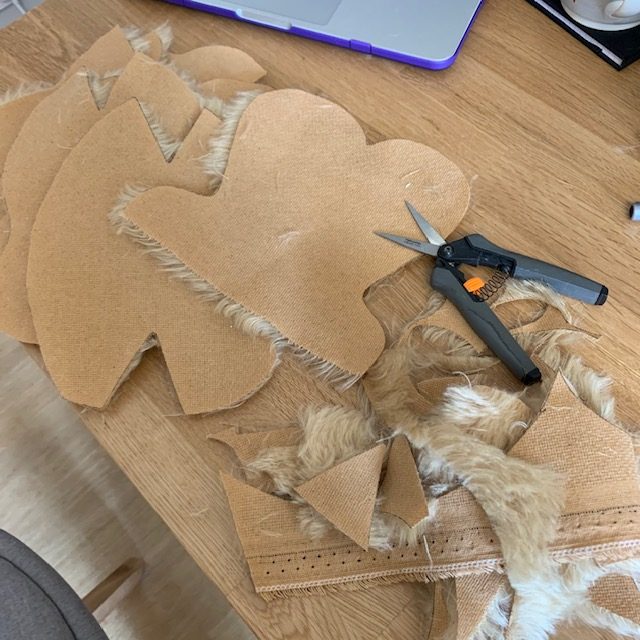
5. Puzzle pieces 
6. Sewing the head
Then I stuff the ears, head space and muzzle to create a cheeky little face waiting to be hugged and loved. The head is then jointed with a cotter pin and hardboard washers, all sewn in by hand, and attached to the body.
The eyes come next. In this case, plastic safety eyes were used – rather than the more traditional glass eyes – because the bear is destined for a child’s bedroom.
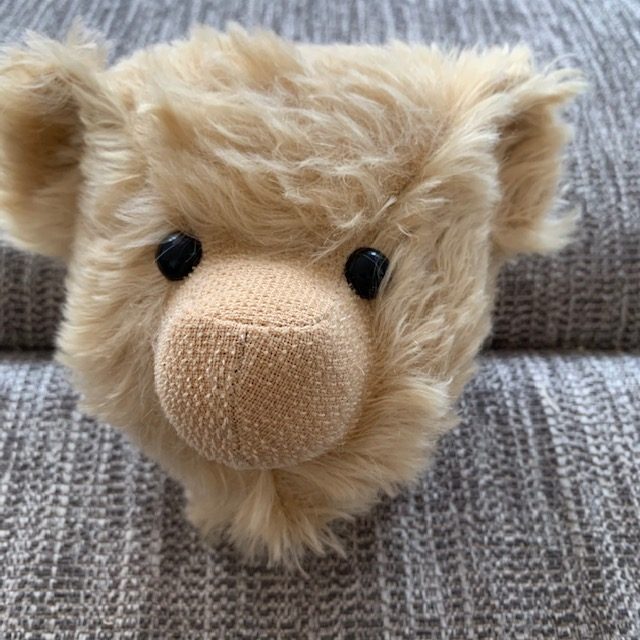
8. Eyes 
9. Arms, legs and joint elements
After embroidering one of his pads, I sew together his arms, legs and tummy so that he can be stuffed using polyester. He is then ready for jointing with nuts and bolts, and finally his growler is added to his tummy. He’s then finished with a ribbon, and is all ready for his new home.
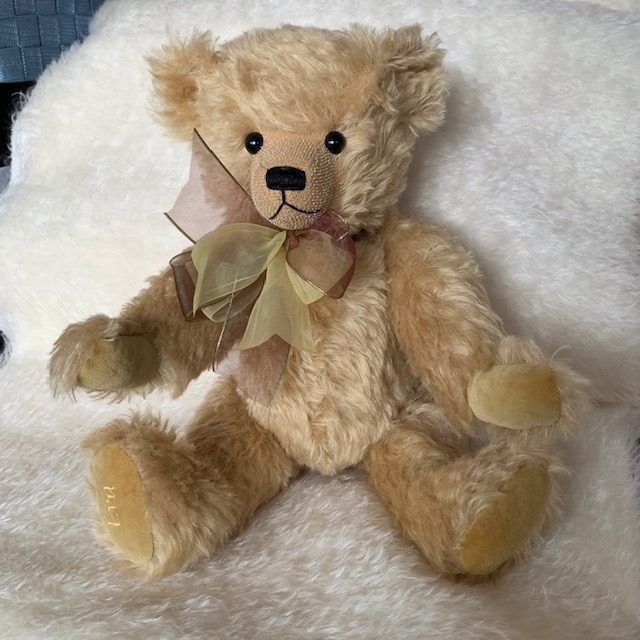
10. Ribbon added 
11. Birth certificate produced


